Using Sesame For The First Time
1. The installation puts two icons on the desktop. One for Sesame and a second one for Sdesigner. The Sesame icon will access your databases. Sdesigner is for designing screen layouts, programming applications and designing reports.
To open and use Sesame, double-click on the Sesame icon. The Sesame Database Manager will open displaying the opening screen and menu bar. File, Edit, Macro, View, Help and Quick Start Menu.

2. To open a database, select File then Open Application from the Sesame menu bar at the top of the window or click on the Open Button.

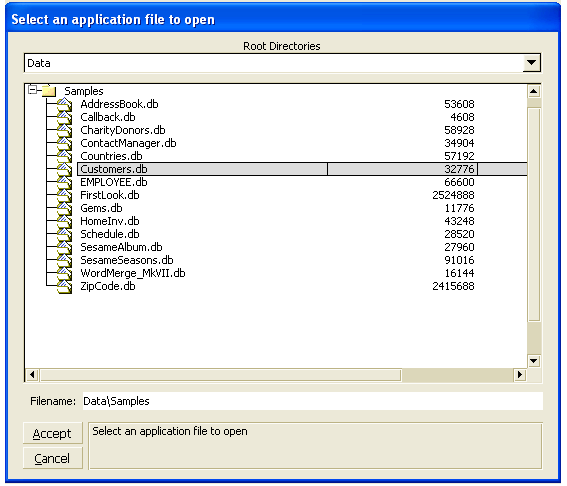
3. With the default installation, a file dialogue will appear showing the data folder - which is initially empty - and the Samples folder beneath it. Click on the Samples folder to display the Sesame sample applications. Each seperate application ends with the extension .db.
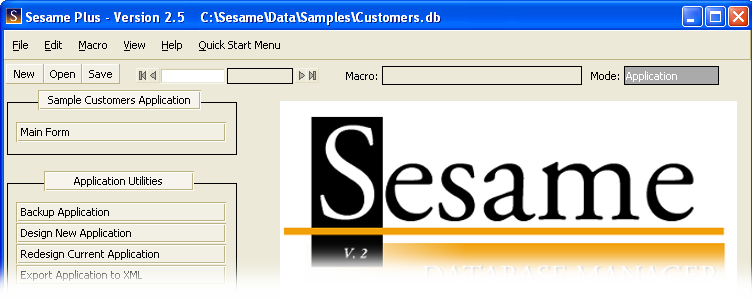
4. Click on an application to open it in the Sesame program. When the application opens, you will see the Sesame menu button system from which you can select which form you would like to load.

The menu buttons present your choices in an organized manner. The application name "Sample Customers Application" is at the top. The next level shows the Forms in the application.
Once your records are displayed in Update mode, F10 will save the record & move forward to the next one, F9 saves & moves back a record, Shift-F6 opens the records in table view, F6 expands any field on the record, F7 returns to search mode, F3 deletes a record, Shift-F10 saves the record and returns to the application menu.
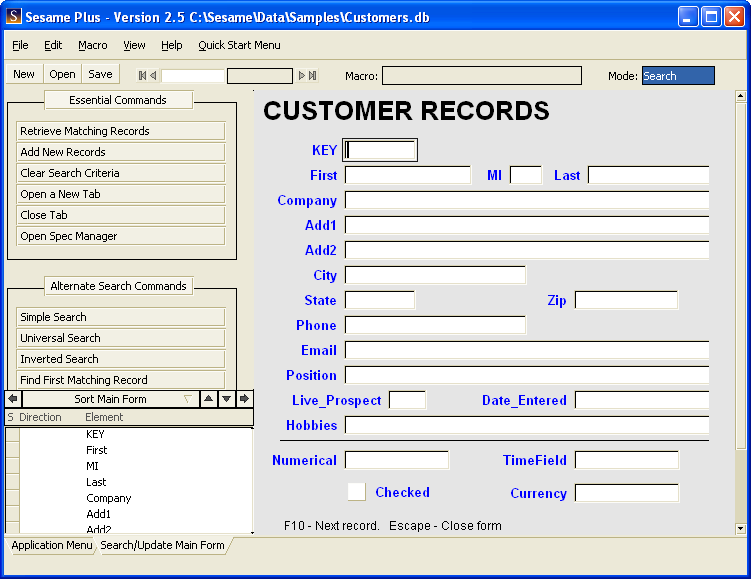
5. To Search a database (Customers.db), click on the name of the form (Main Form) on the Application Menu. The form will open in Search mode (where you specify what records you want to see) with a new set of menu buttons displaying search options. To see all of the records, press F10. To select a specific set of record (e.g. all people whose last name is Jones), type the restriction directly in the element on the form and press F10.

6. To add new records, click on the name on the Add New Records button on the menu. You will be put in a new form. Enter your data in the applicable element and press F10 to save and add another or Shift-F10 to save your record and go back to the application menu.


